So, you have finally decided to start your organic garden! Well, that’s great! Before I decided to start my organic farm, I had done enough research to ensure I didn’t get stuck in the process.
Organic gardening allows you to grow your foods without using any harmful chemicals or fertilizers. Instead, you utilize natural living organisms, compost, and organic methods to add nutrients to your organic garden.
You will learn how to prepare the soil, choose organic plants to grow, make compost, maintain the plants, and harvest. Starting your organic garden will both be fun, and educational. As long as you have the right gardening tools, you will never go wrong!
Step 1: Choose the Right Organic Soil and Prepare it
What you want to plant determines what soil you need to use. Soil is a major factor in your garden because that’s where your organic plants will get their nutrients.
Healthy soil will result in high-yielding plants. However, don’t think about the chemical soil treatments that can easily seep into your food.
Healthy soil is made by living organisms in the soil, mulch, water, compost, and organic fertilizers.
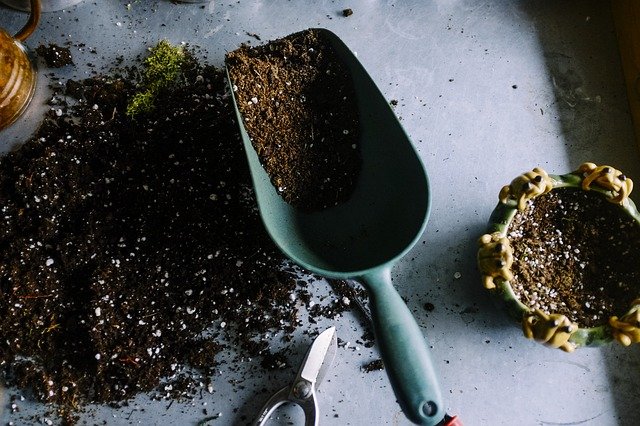
- Test Your Soil
First, test the quality of your soil by using a soil testing kit. After you get the result, you will know what to add to your soil to make it better. You can also consult an Agricultural Officer to get a recommendation. This will help you understand the PH and nutrient levels.
For proper growth, the soil needs to have high nitrogen, phosphorus, and potassium content. The secondary nutrients the plants may need include magnesium, sulfur, and calcium. If that is present in your soil then you can carry on.
- Determine the PH Levels
If your soil is acidic, it will have a low PH of less than 6.0, and if alkaline, it will have a high PH of 7.0 and above. I often test my soil during the fall and spring seasons, which is the most ideal time. Determining the PH level is essential if you don’t want your plants to get burnt by the soil.
- Check the Soil Texture
There are three major types of soil: Sandy, loam, and clay. Loam is known to be the best soil for planting, but depending on what you are planting that can change.
The sandy soil has the biggest soil particles, loam has a medium size, and clay is the smallest. This makes clay retain a lot of water with poor drainage while on the farm.
Loam soil is the best. If your soil is not appropriate, you can purchase garden-specific soil for your plants.
- Improve Your Soil
When I was starting, I thought it was easy to make my soil fertile. However, it took me a while before I figured out the right soil preparation method. In organic gardening, try as much as possible not to use chemicals. The use of compost is recommended.
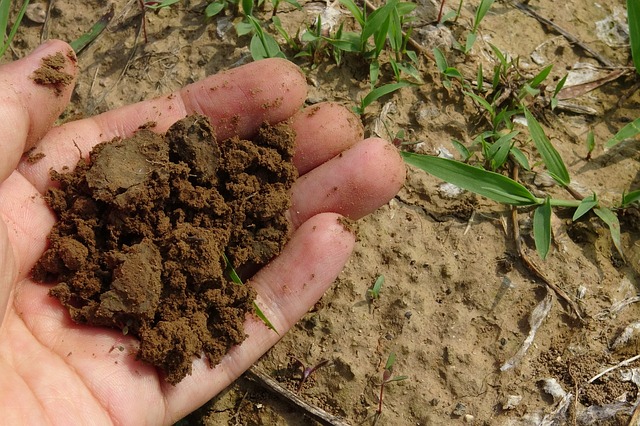
You will need to provide the right amount of air that is determined by the soil particles, water, adding compost, and mulch like straw, hay, grass clipping. Mulch helps in water retention and insulates the soil from extreme heat and cold.
Some organic fertilizers can be added to the soil to make it more fertile. Soil improvement helps loosen tight clay soil, helps sandy soil retain more water, adds nutrients, and makes it easier to dig the soil.
- Till the Soil
In soil preparation, till your land is 8 to 10 inches deep, loosen the soil and ensure your organic plants’ roots go deeper. Till the soil when it is moist to prevent harmful soil breakage.
Remember, to always add organic matter each year to build and maintain the soil. Rake the soil often to remove sticks and rocks.
You can decide to plant your organic foods in raised beds that help in proper water drainage and allow air to enter the soil. If you have minimal space, you can grow your plants in rows.
Step 2: Make Your Organic Compost
Compost helps to preserve water, reduce weed growth, and make use of kitchen and food wastes. After making the compost, you can spread it around the plants or mix it with the potting soil. The right compost should provide the right measure of nitrogen and carbon.
- You don’t need a large space to make compost. Create a small space of at least 4 square feet. Add carbon material, leaves, garden trimming, manure, kitchen wastes, and green material.
- Above that, add 4 to 6 inches of soil. Turn the pile as new layers are added. Remember to add a considerable amount of water to keep it moist. The turning will help in air circulation. To foster great microbe activity, make compost that will last up to two months.
- The compost shouldn’t smell; if it does, add leaves, straw, or sawdust. Any carbon material will help.
Step 3: Choose the Right Plants to Grow
By the time you reach this step, you should have determined what plants you want to grow in your organic garden.
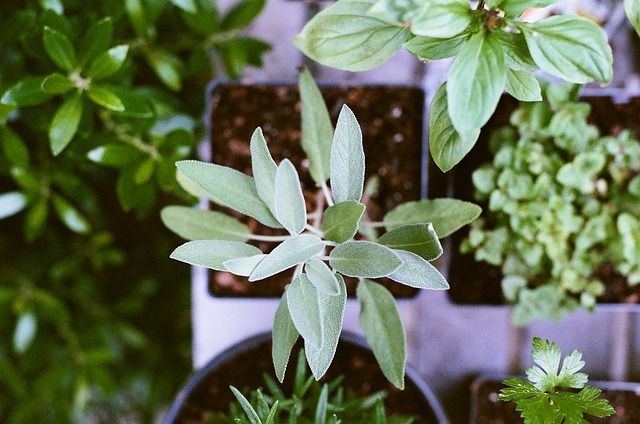
The plant you choose should be determined by the weather conditions of the area you live in. You can start with pepper, salad leaves, radishes, herbs, spring onions, broccoli, peas, and tomatoes. These are some of the eight easiest organic foods that you can grow at home.
You will need to purchase the right seeds; choose the ones that were grown without any chemical additives. You can then decide to first grow them in plant pots either indoors or outdoors then transfer them into your organic garden.
It is recommended to grow in a raised bed where you don’t walk too much if planting vegetables.
Step 4: Maintain Your Organic Plants
After proper soil preparation, dig suitable holes, plant your seeds, cover lightly, add compost around the plant, add mulch, and water appropriately. The plants should be in a well-lit area, where there is direct sunlight.
- Watering
For proper plant growth, you will need to water the plants regularly. The best time to water plants is in the morning when it is cool with less wind to prevent evaporation. If you water in the evening, the plants will remain damp throughout the night, which can negatively affect the plants.
When the plants have established themselves, you can start watering once a week. Watering once or twice helps in the deeper growth of roots and ultimately creates stronger plants.
- Weeding
Keep checking your garden frequently to remove all kinds of weeds that may have infested your plants. Weeds tend to battle with the plants to get nutrients, water, air, and much more. This can lead to retarded growth of the plants.
Choosing a good weed puller can make a difference. Also, mulching helps suppress the weeds.
- Organic Pest Control
Be assured that your plants will start being infested by pests, but, you can attract beneficial insects to your garden to keep off the harmful pests.
You can foster natural predators like frogs, toads, lizards, birds, and ladybirds to keep off harmful pests. Plant flowers nearby to attract pollinators.
Step 5: Harvesting
You need to choose the best harvesting method that will prevent any kind of damage to the root or soil. Remember to harvest regularly to boost the plants’ productivity.
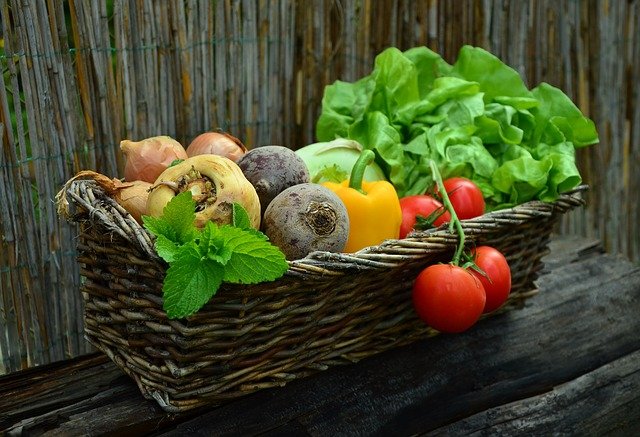
For salad leaves, keep checking regularly to harvest the grown leaves and leave room for the other growing leaves. Pick a little from each plant to make it uniform. You can cut produce using scissors or a sharp knife to prevent you from damaging plant tissues.
Always check the plants to see if they are sick, cut off any infected plants, and burn immediately. Don’t use that because organic matter may affect the other plants.
Start Your Organic Garden now!
This is the best way that you can use to start your organic garden. I hope you will join me in this journey to ensure we eat healthy organic foods that don’t have chemicals.
Remember to take all the relevant precautions in soil preparation, planting, making compost, and harvesting. Practice crop rotation to replenish lost nutrients.
You can now take the best gardening tools, and start preparing your organic farm. Remember to maintain proper sanitation of your farm for more productivity.
